Types of Bathroom Faucets

How to take apart a bathroom faucet – Bathroom faucets come in a variety of styles and types, each with its own advantages and disadvantages. The most common types of bathroom faucets include:
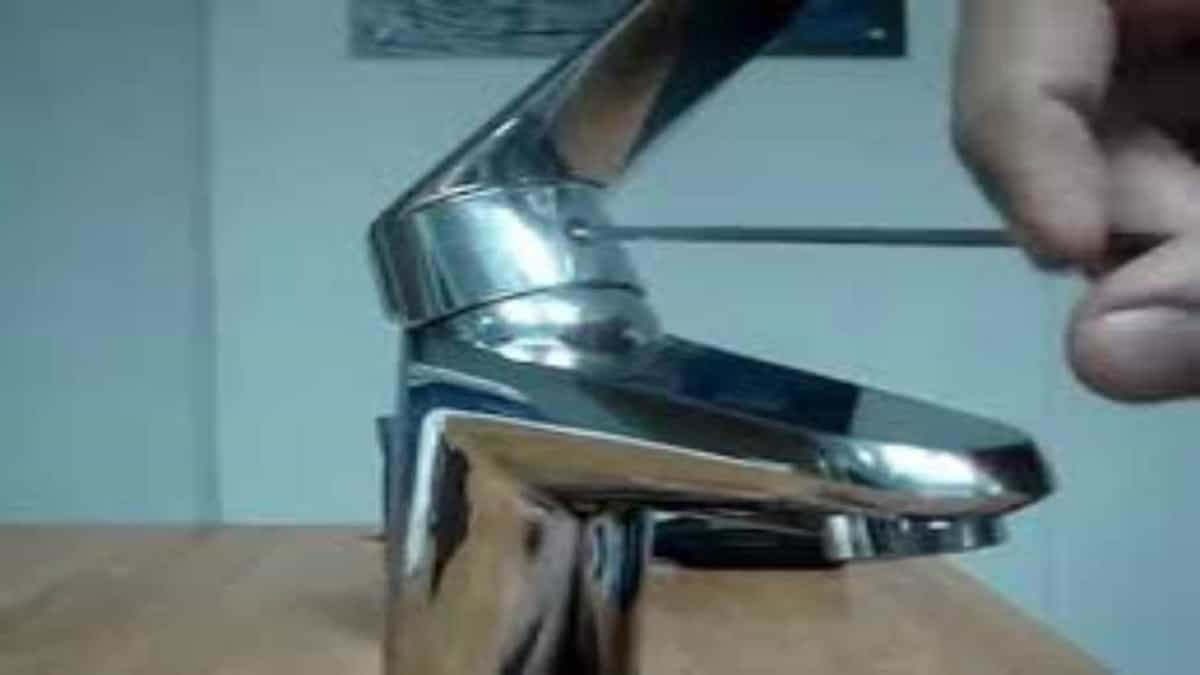
Single-Handle Faucets, How to take apart a bathroom faucet
Single-handle faucets are the most popular type of faucet for bathrooms. They feature a single lever that controls both the water temperature and flow rate. Single-handle faucets are easy to use and can be installed in a variety of bathroom sinks.
Taking apart a bathroom faucet can be a straightforward task if you have the right tools. But before you dive into the project, consider updating your bathroom’s style with white and brass bathroom accessories. These timeless pieces will add a touch of elegance to your space.
Once you’re ready to tackle the faucet, remember to turn off the water supply and use a wrench to loosen the nuts holding the faucet in place.
Advantages:
- Easy to use
- Can be installed in a variety of bathroom sinks
- Affordable
Disadvantages:
- Can be difficult to find the right temperature setting
- Can leak over time
Tools and Materials Required
Disassembling a bathroom faucet requires a specific set of tools and materials to ensure the process is completed safely and efficiently. Having the right tools on hand will make the task easier and prevent any damage to the faucet or surrounding fixtures.
Essential Tools
* Adjustable wrench: An adjustable wrench is a versatile tool that can be used to loosen and tighten nuts and bolts of various sizes. A 10-inch or 12-inch adjustable wrench is recommended for most bathroom faucets.
* Pliers: Pliers are used to grip and turn small nuts and bolts that cannot be easily accessed with an adjustable wrench. Needle-nose pliers or slip-joint pliers are suitable for this task.
* Screwdrivers: A set of screwdrivers, including both flathead and Phillips head screwdrivers, is necessary for removing screws that hold the faucet handle and other components in place.
* Hex key: A hex key, also known as an Allen key, is used to loosen or tighten screws with hexagonal heads. A set of hex keys in various sizes may be required depending on the faucet model.
* Sealant: Plumber’s sealant is used to create a watertight seal around the base of the faucet and prevent leaks. A small tube of silicone sealant or Teflon tape is sufficient for most applications.
Step-by-Step Disassembly Guide: How To Take Apart A Bathroom Faucet

Disassembling a bathroom faucet requires careful attention to detail and following the proper steps to avoid damage. This comprehensive guide will provide you with clear instructions, helpful tips, and warnings to ensure a successful disassembly process.
Identifying the Type of Faucet
Before starting the disassembly, it’s crucial to identify the type of faucet you have. This will determine the specific steps involved in removing the faucet. The most common types of bathroom faucets include single-handle, double-handle, and wall-mounted faucets.
Gathering Tools and Materials
Before you begin, gather all the necessary tools and materials. These typically include:
- Adjustable wrench
- Allen wrench
- Screwdriver
- Pliers
- Bucket or container
- Rags or towels
Step-by-Step Disassembly Instructions
Once you have identified the type of faucet and gathered the necessary tools, follow these step-by-step instructions to disassemble it:
- Turn off the water supply to the faucet.
- Open the faucet handles to release any remaining water.
- Locate the set screw or cap on the handle and remove it.
- Pull the handle straight up to remove it.
- Use an adjustable wrench to loosen the packing nut beneath the handle.
- Remove the packing nut and washer.
- If the faucet has a cartridge, use an Allen wrench to remove the cartridge retaining nut.
- Pull the cartridge straight up to remove it.
- If the faucet has a ball valve, use a screwdriver to remove the screws holding the valve in place.
- Pull the ball valve out of the faucet body.
- Use pliers to disconnect the water supply lines from the faucet body.
- Remove the faucet body from the sink or countertop.
After you’ve removed the aerator, you’ll need to unscrew the packing nut. Be careful not to overtighten it, as this can damage the faucet. Once the packing nut is loose, you can pull the faucet handle off. If you’re having trouble removing the handle, you can try using a white bathroom bin with lid to protect your hands from the sharp edges.
Once the handle is off, you can unscrew the cartridge and replace it with a new one.
